
Ceramic Brazing Guide: Principles, Process & Tips
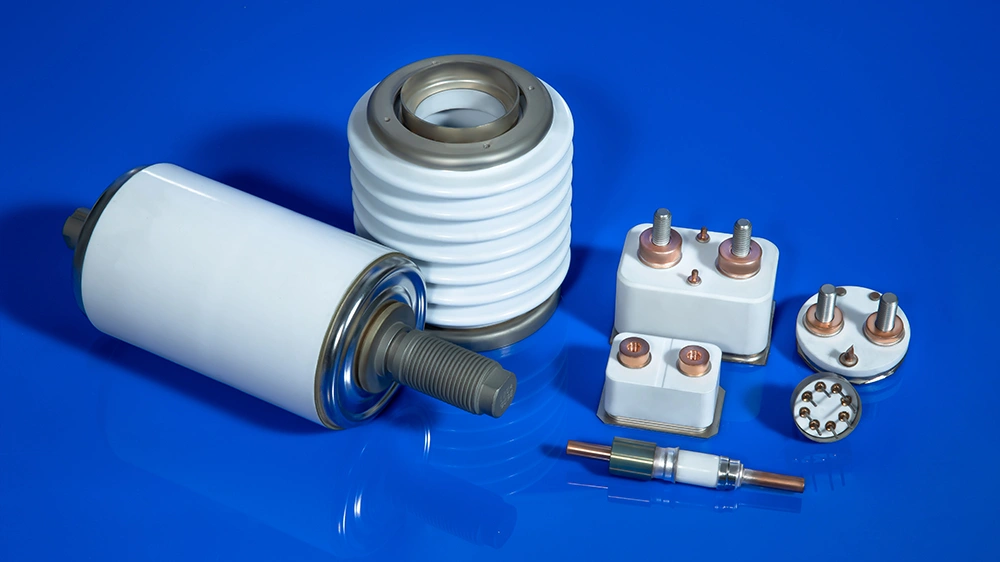
Many people think “ceramic brazing” sounds very technical at first, but it’s simply a reliable way to join ceramics and metals together. It’s especially common in high-voltage electrical devices, vacuum equipment, X-ray tubes, and similar applications.
Today we’ll explain ceramic brazing in the simplest possible way—from zero knowledge to understanding the basics. Perfect for beginners, engineers, buyers, and technicians who want a quick grasp.
1. What is ceramic brazing? How is it different from welding or adhesive bonding?
In short, ceramic brazing uses a filler metal (called brazing alloy or braze) with a melting point lower than both the ceramic and the metal. You heat it until it becomes liquid, it flows into the gap between the parts by capillary action, and when it cools and solidifies, the two materials are strongly joined.
The temperature is usually above 450°C, so it’s called “brazing” (not low-temperature “soldering”).
Compared to regular welding, it doesn’t melt the base ceramic or metal, making it ideal for joining very different materials.
One-sentence summary: Ceramic-to-metal brazing is currently one of the most reliable ways to connect dissimilar materials.
2. Why is ceramic so hard to braze?
Ceramic surfaces are smooth and “repel” metals like glass repels water. Regular brazing alloy beads up into little balls instead of spreading out—this is called “non-wetting”.
Technically, the contact angle is greater than 90°, so the molten braze can’t properly flow into the joint, resulting in weak or failed bonds.
To make ceramic brazing work, you must first solve this “non-wetting” problem.
There are two main industrial solutions—we’ll compare them next.
3. Two Main Approaches: Metallization vs Active Brazing
Approach 1: Metallization
First, apply a special metal paste (most commonly Mo-Mn or tungsten) to the ceramic surface, sinter it at high temperature to create a thin metal layer, then plate nickel, and finally braze with standard silver-copper alloy.
Advantages: Very mature process, works well for large or complex shapes, widely used in industry.
Disadvantages: Many steps, time-consuming, higher cost.
Approach 2: Active Brazing
Use brazing alloy that already contains “active elements” (most commonly AgCuTi — silver-copper-titanium), such as Ticusil or Cusil ABA. During heating, the titanium reacts with the ceramic surface and forms a thin reaction layer (Ti oxides, Ti carbides, etc.), suddenly making the braze wet the ceramic.
Advantages: Simple process, one heating cycle, excellent hermeticity.
Disadvantages: Requires vacuum furnace or inert atmosphere, tighter control of temperature and gap.
Beginners and small-batch trials usually start with active brazing; high-volume production still favors metallization + brazing for reliability.
4. Common Brazing Alloys and Key Process Parameters
The most popular active brazing alloys are AgCuTi based, such as: Ticusil (≈4.5% Ti)、Cusil ABA、Braze 580
Typical melting range: 780–850°C — very friendly to alumina ceramics.
Key beginner parameters to memorize:
- Gap between ceramic and metal: 30–150 microns
- Brazing temperature: 780–1100°C (depends on alloy)
- Atmosphere: Vacuum furnace preferred (≈10⁻⁵ mbar)
- Cooling rate: Slow — ideally <5°C/min to avoid cracking the ceramic
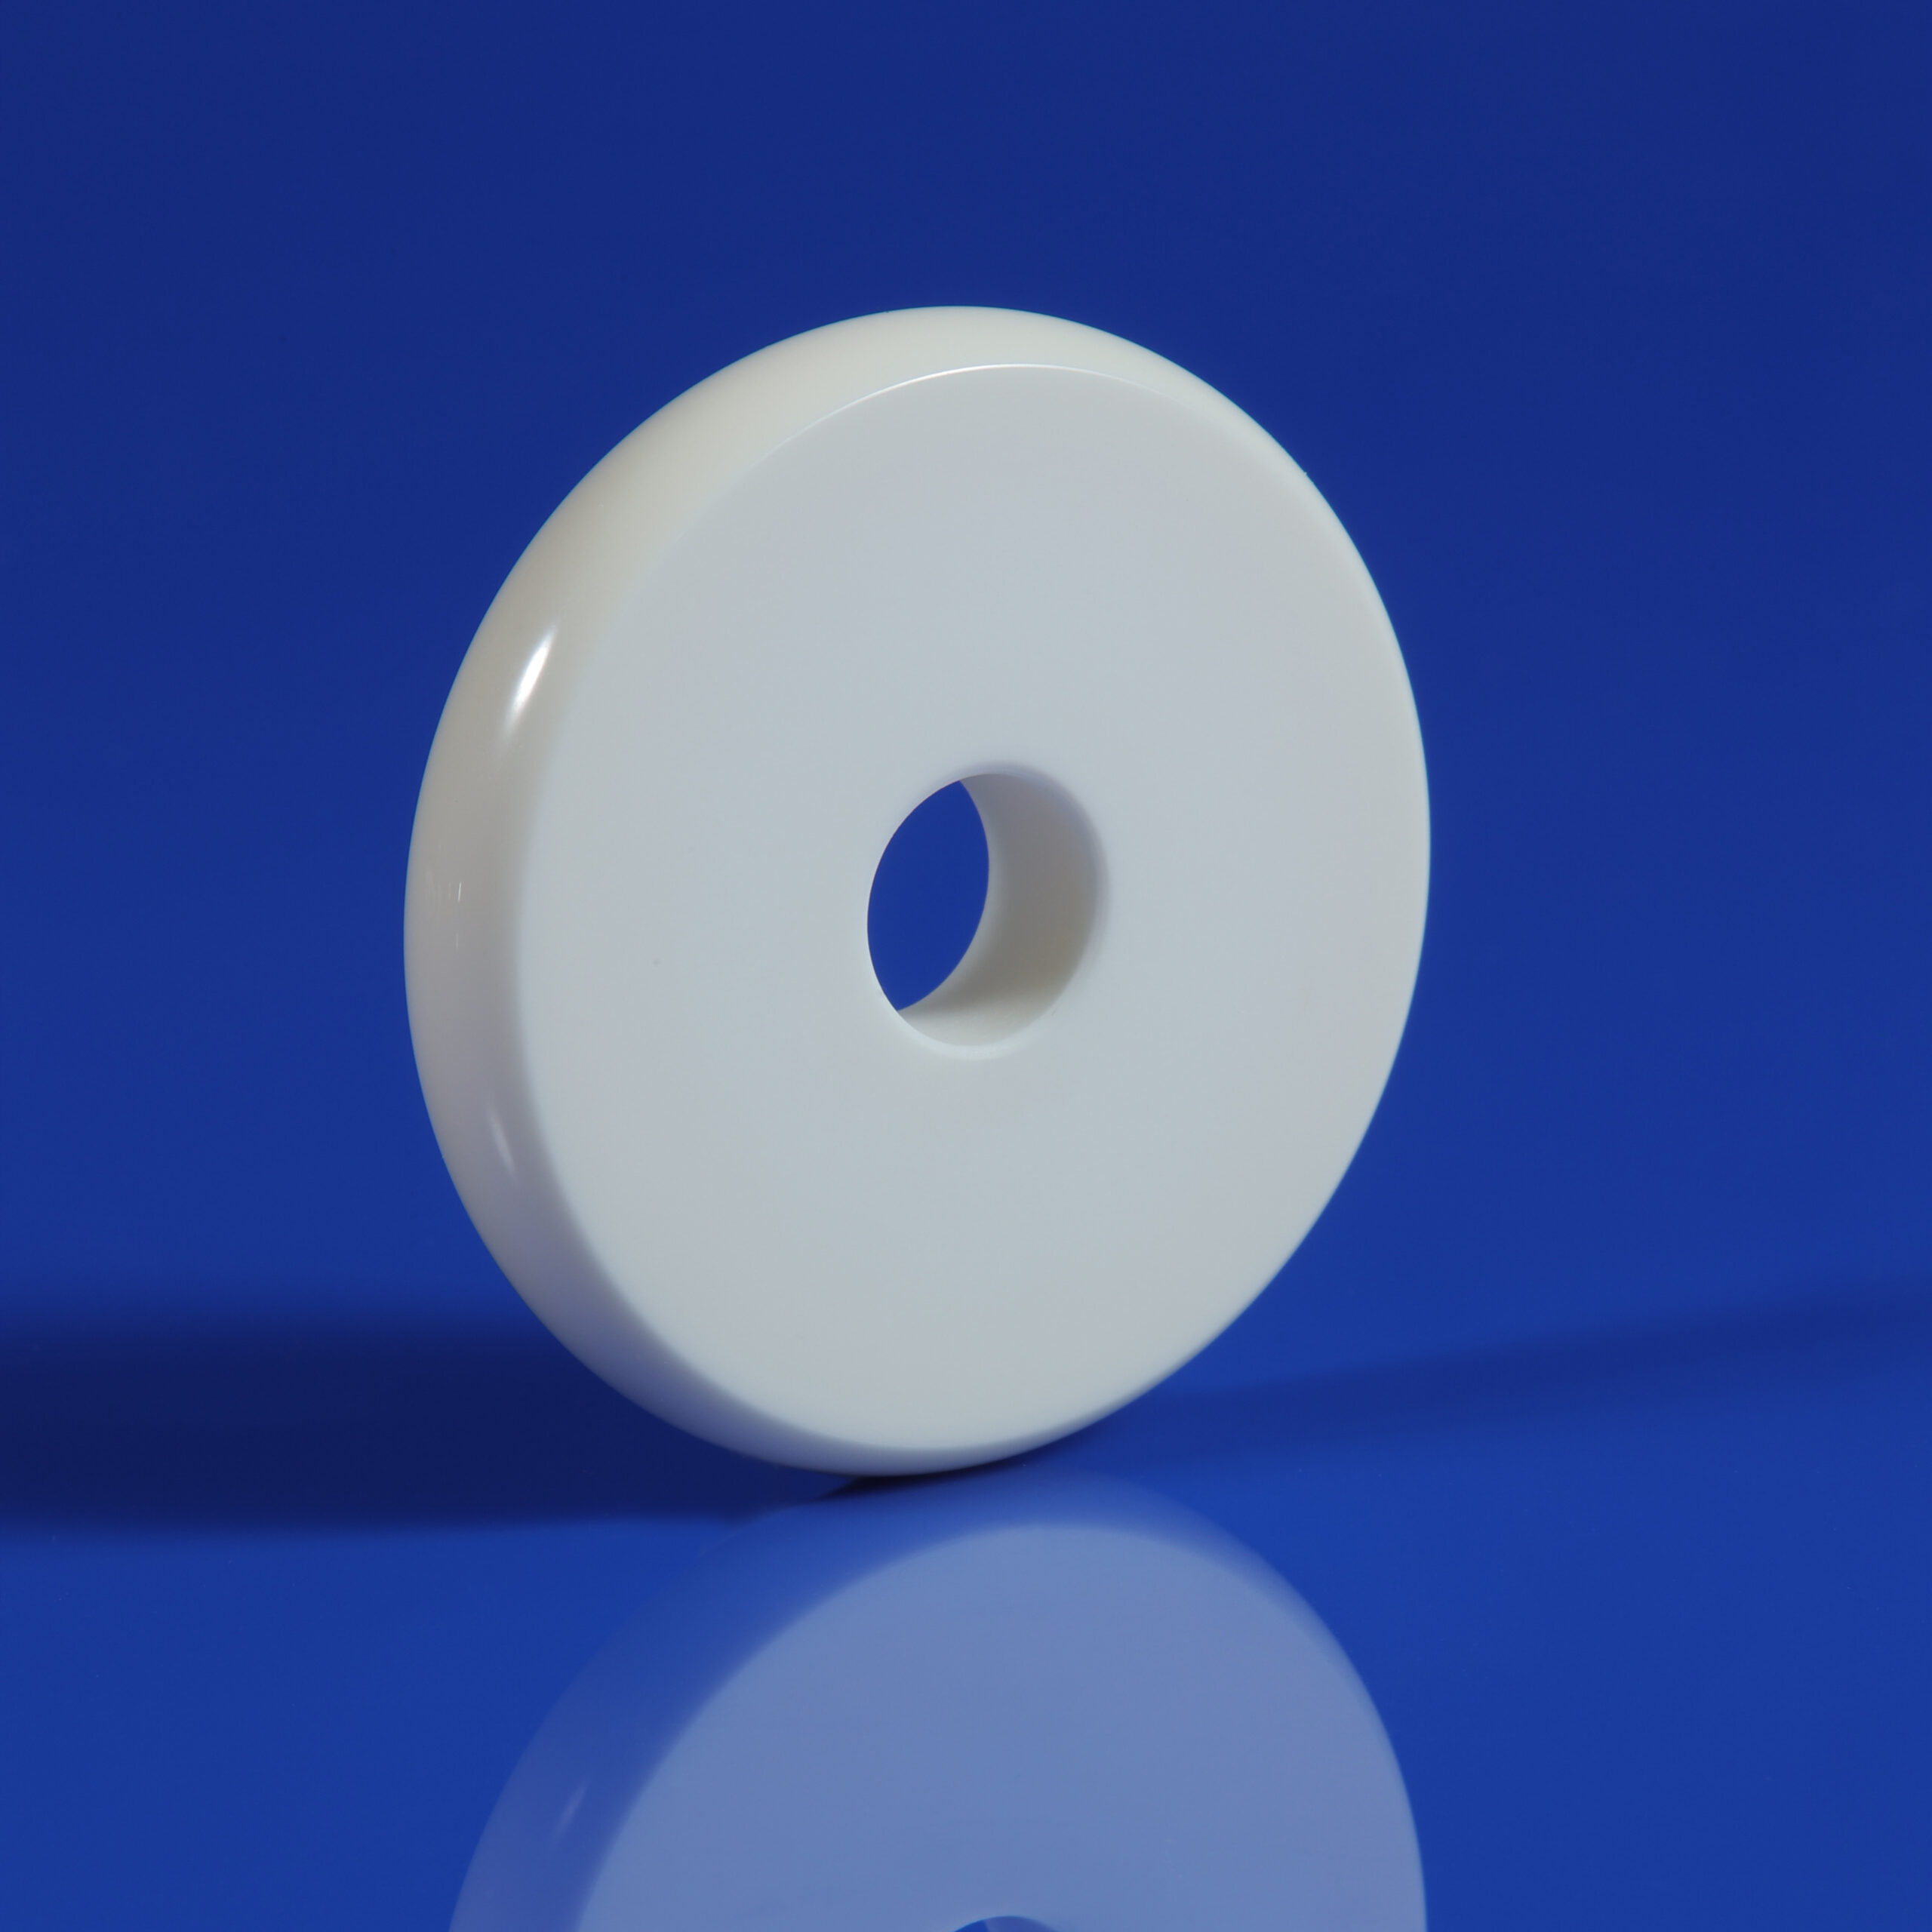
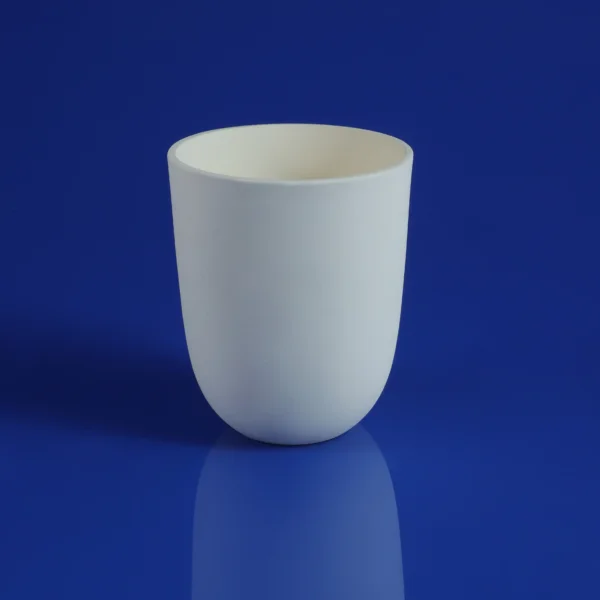
5. Which Ceramics Are Easiest?
- Alumina (Al₂O₃): Easiest to braze — 95% or 99% purity both work well. First choice for beginners.
- Aluminum Nitride (AlN): Good thermal conductivity, but can form brittle phases at the interface — needs special alloys.
- Silicon Nitride, Zirconia: More difficult — requires careful adjustment of active element content and process.
Conclusion
Ceramic brazing isn’t as scary as it sounds. The core is simple: understand wetting → choose the right process and alloy → test many samples.
Starting with alumina ceramic + AgCuTi active brazing is the fastest path for most people to get results.
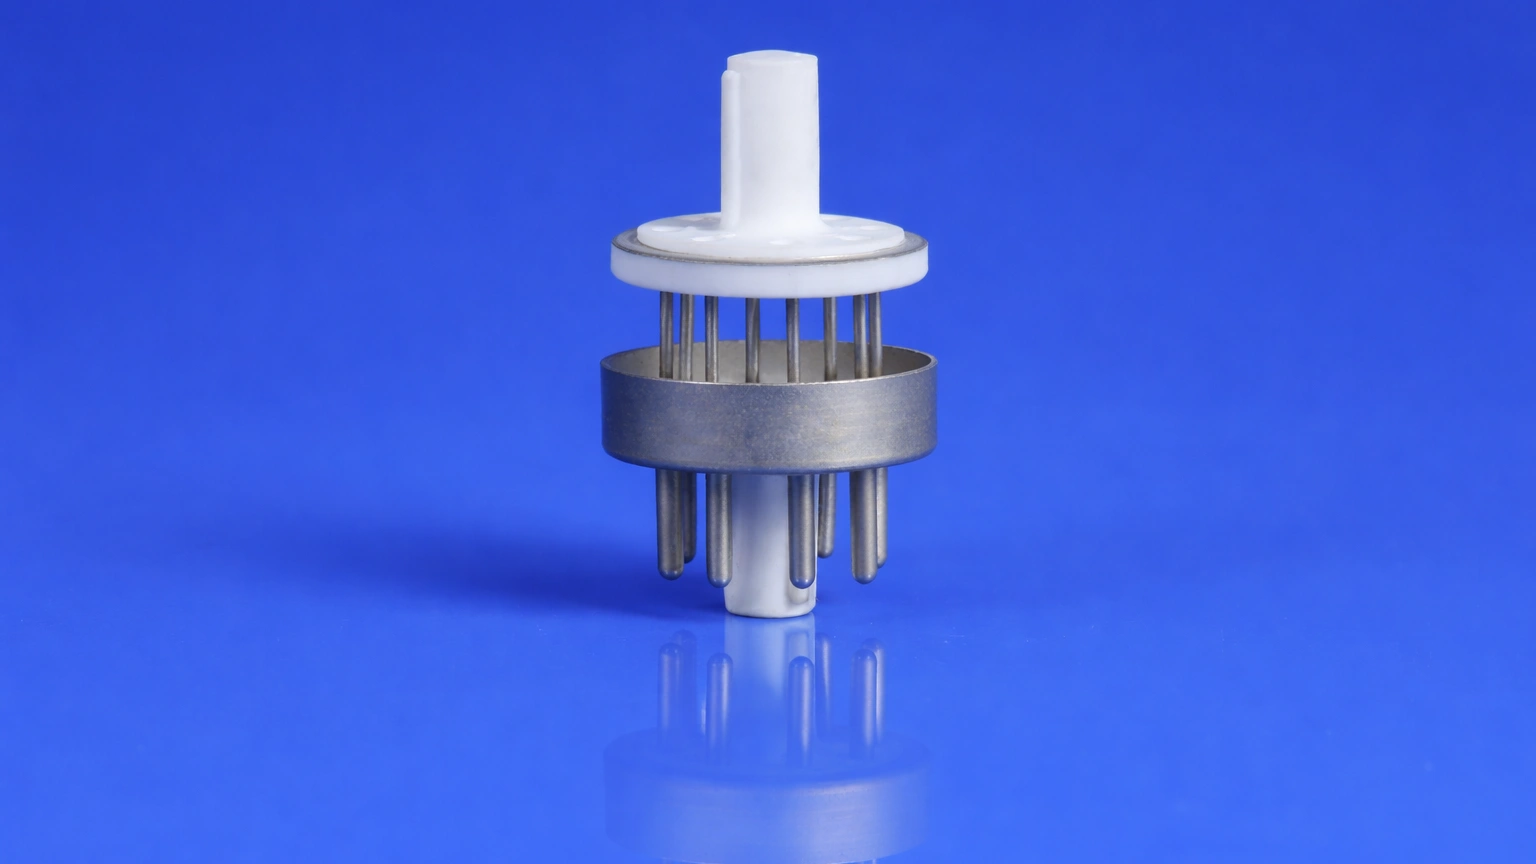
Once you master the basics, high-voltage insulators, vacuum feedthroughs, X-ray tube components, and other advanced applications become much less intimidating.
FAQ
Q1. Do you always need flux for ceramic brazing?
A. No — most active brazing in vacuum furnaces doesn’t use flux at all; the titanium does the job itself.
Q2. Should beginners learn metallization or active brazing first?
A. Start with active brazing — fewer steps, faster results, and easier to analyze failures.
Q3. What causes most ceramic brazing failures?
A. Dirty surfaces + wrong gap + too-fast cooling account for over 80% of problems.