
Mastering Metal-to-Ceramic Brazing: A 5-Step Process for Success
As a seasoned materials scientist with extensive experience in joining dissimilar materials, I've witnessed firsthand the transformative power of successful metal-to-ceramic brazing. This comprehensive guide builds upon core principles, diving deeper into material selection, process optimization, and troubleshooting to ensure you achieve the highest quality joints. My expertise in this field allows me to provide practical insights and best practices that will significantly improve your brazing outcomes.
The 5 Critical Steps in Detail
Let's explore each step in detail, providing practical guidance and considerations for optimal brazing:
| Rank | Step | Detailed Description | Key Considerations | Potential Problems |
|---|---|---|---|---|
| 1 | Surface Preparation | Removing impurities is critical for proper wetting and bonding. Use solvents, mechanical cleaning (grit blasting), and chemical etching (for ceramics) to ensure clean surfaces. | - Metal Cleaning: Solvents, grit blasting. - Ceramic Cleaning: Ultrasonic cleaning, chemical etching. - Handle with gloves to prevent contamination. | - Poor Wetting: Insufficient cleaning. Re-clean aggressively. - Oxidation: Clean just before brazing. |
| 2 | Metallization (if Needed) | Many ceramics require metallization for wetting. Methods include Molybdenum-Manganese (Mo-Mn), Titanium Hydride, or Thin Film Sputtering. Choose based on materials, temperature, and desired properties. | - Optimize metallization layer thickness. - Control firing temperature (Mo-Mn). - Ensure clean, smooth ceramic surface. | - Poor adhesion of metallization layer: Inadequate cleaning. - Cracking: Excessive thickness or thermal expansion mismatch. |
| 3 | Brazing Filler Application | Select a compatible brazing filler alloy based on melting temperature, wetting behavior, corrosion resistance, and mechanical properties. Apply uniformly using paste, foil, or wire feeding methods. | - Consult brazing alloy charts. - Use minimum filler for strong joint. - Precise filler placement. | - Insufficient filler: Weak joint, voids. - Excessive filler: Spillage, increased stress. - Filler oxidation: Use flux or controlled atmosphere. |
| 4 | Assembly & Fixturing | Proper alignment and fixturing maintain alignment for even filler flow and dimensional accuracy. Use thermally stable, non-reactive materials like graphite, alumina, or stainless steel. Design fixtures to minimize stress. | - Fixture material with similar thermal expansion. - Design to minimize thermal gradients. - Apply light, uniform pressure. | - Misalignment: Poor joint strength. - Fixture-induced stresses: Cracking, distortion. - Reaction with components: Contamination. |
| 5 | Brazing Process | Braze in a controlled atmosphere furnace (vacuum, inert gas, or reducing atmosphere) to prevent oxidation. Control heating and cooling rates to minimize thermal stress. | - Maintain atmosphere quality. - Accurate temperature control. - Optimize ramp rates. | - Oxidation: Poor joint quality. - Overheating: Damage to materials. - Excessive thermal stresses: Cracking. |
Now, let's delve into each of these critical steps to provide a deeper understanding and actionable advice for success:
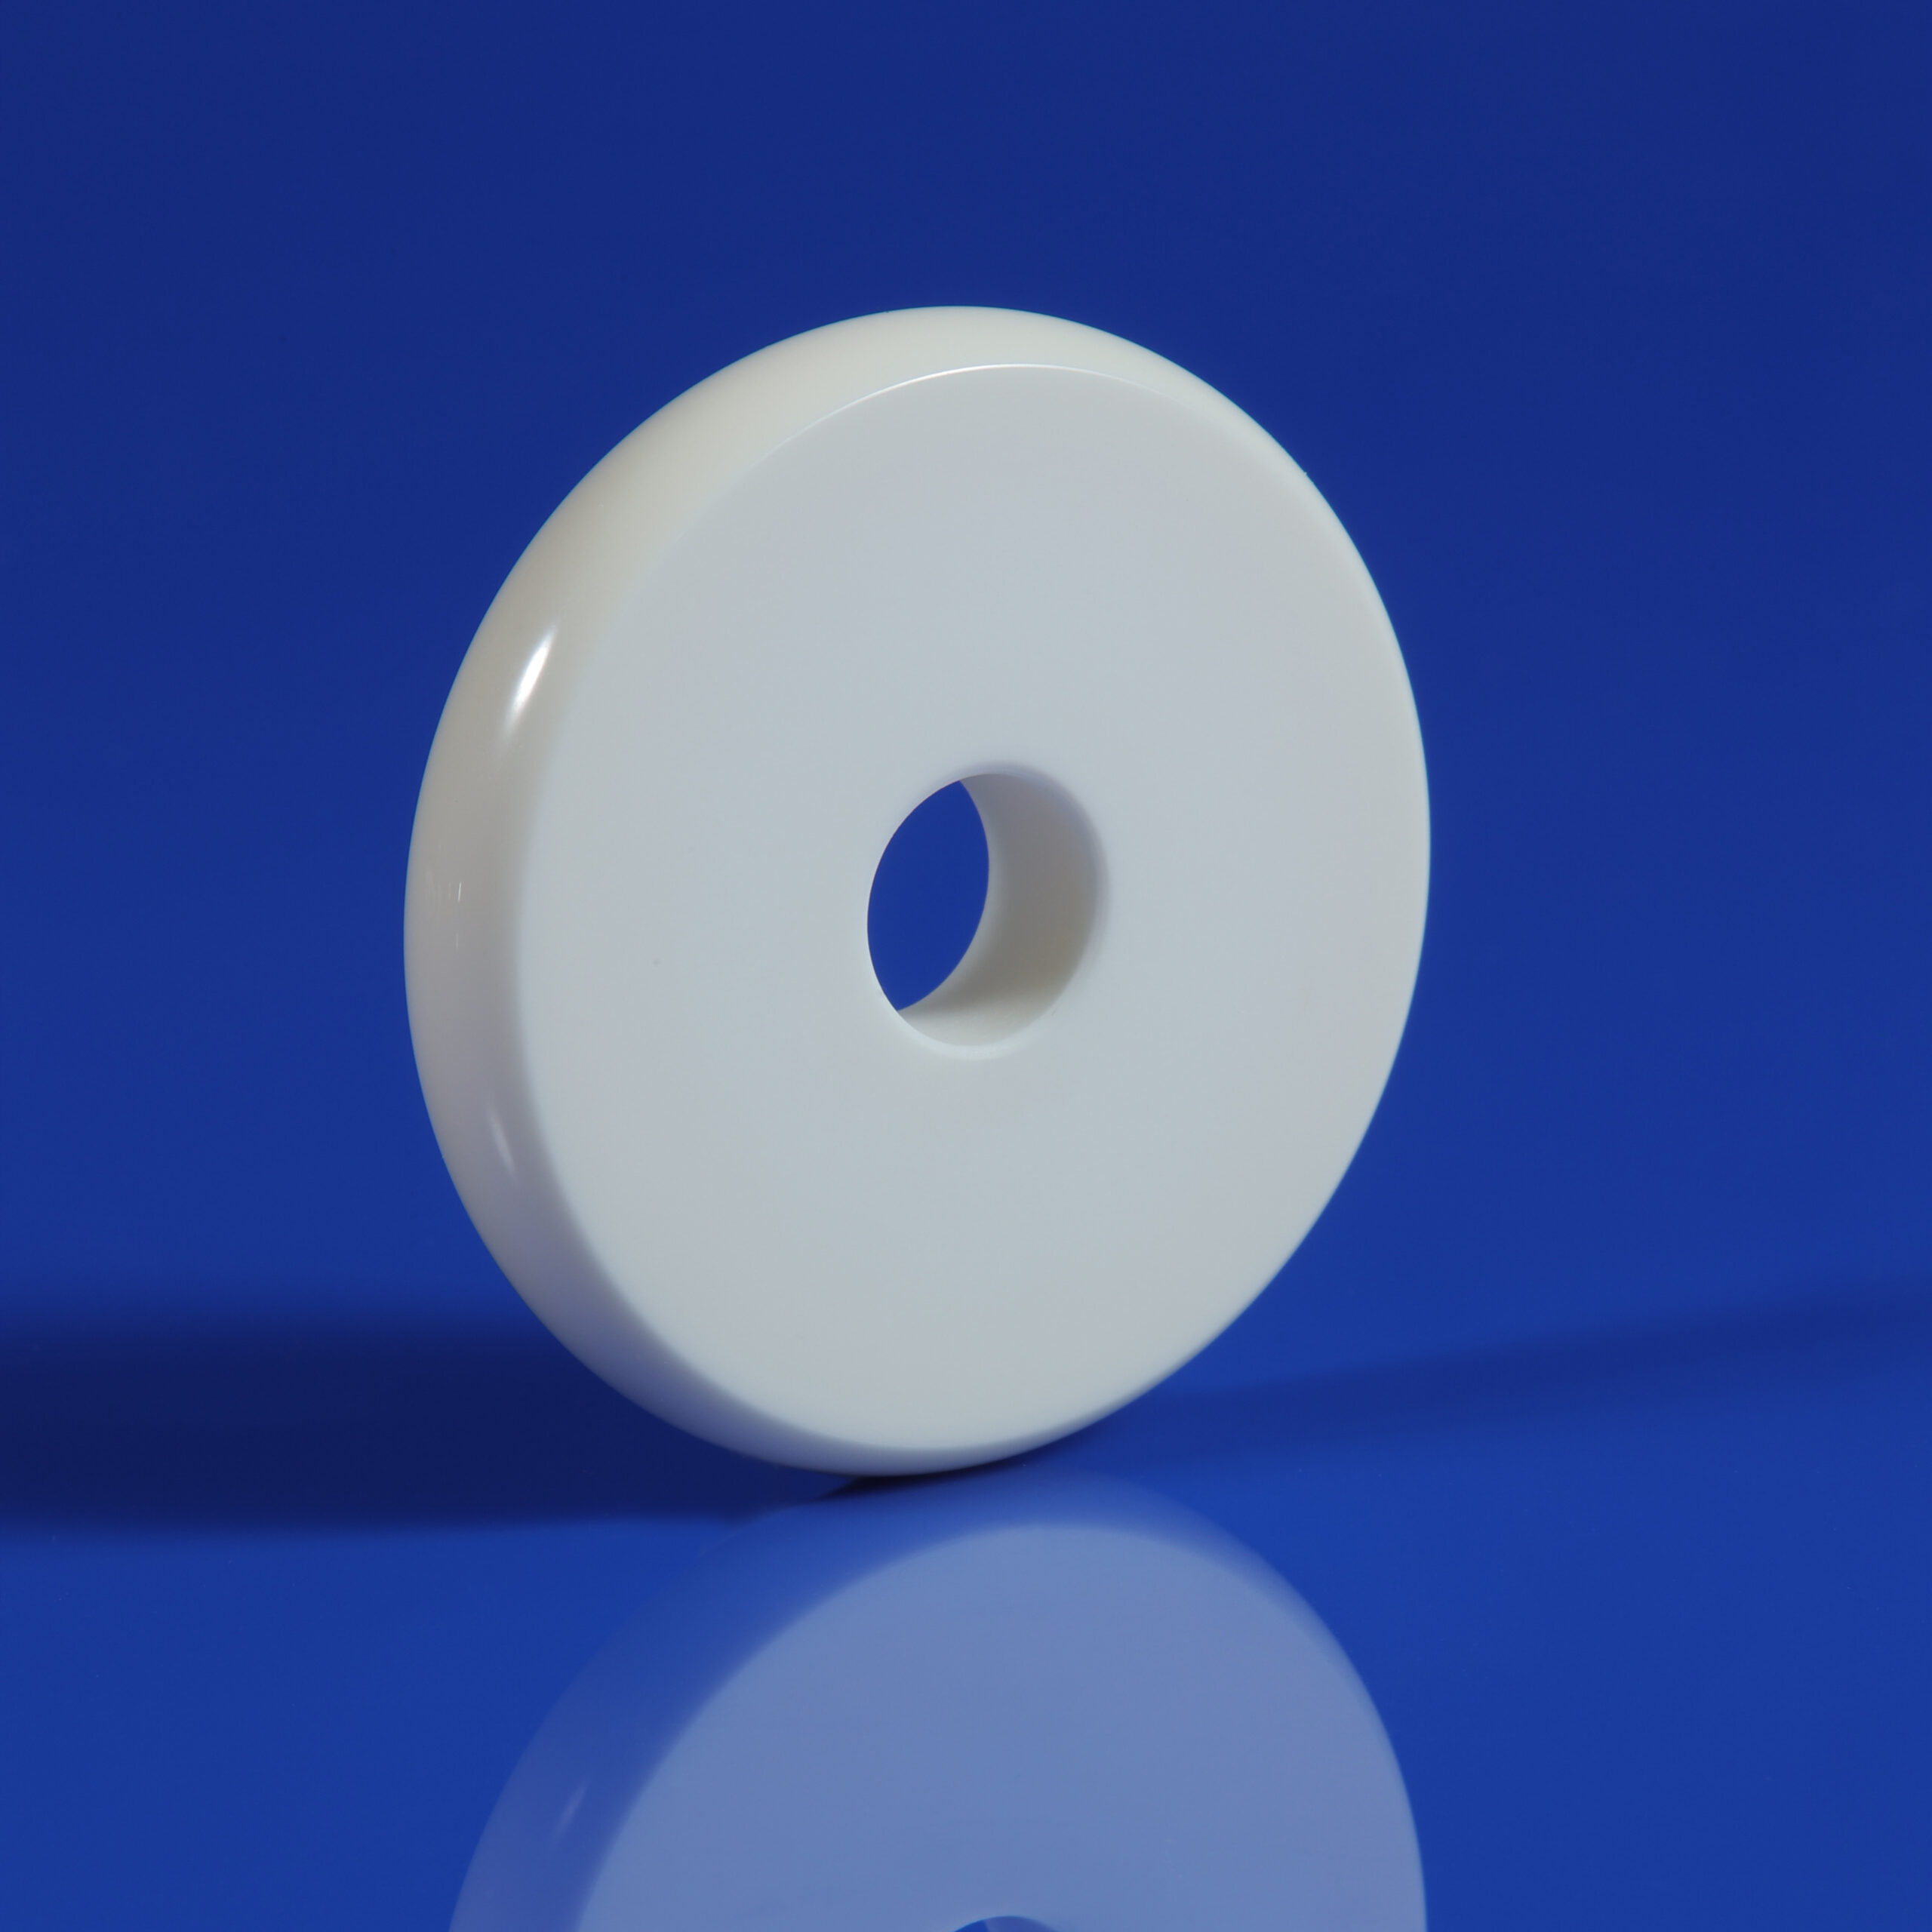
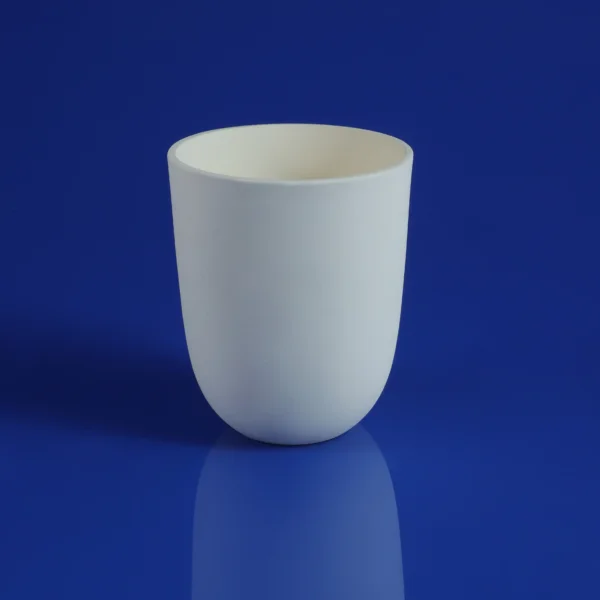
1. Surface Preparation1: The Foundation of a Strong Joint
Surface preparation is not merely a preliminary step; it's the bedrock upon which the entire brazing process rests. Without meticulously cleaned surfaces, the brazing filler will struggle to properly wet and adhere, leading to weak and unreliable joints.
Start by degreasing the metal components with solvents like acetone or isopropyl alcohol to remove any oils or residues from handling or machining. Follow this with mechanical cleaning methods, like grit blasting, to remove any oxide layers and create a slightly roughened surface that promotes mechanical interlocking with the brazing filler.
For ceramic components, the process is often more intricate. Ultrasonic cleaning in distilled water helps remove loose particles and surface contaminants. Chemical etching with hydrofluoric acid (HF) or other specialized etchants can create a micro-roughened surface, improving the ceramic's wettability and enhancing bond strength.
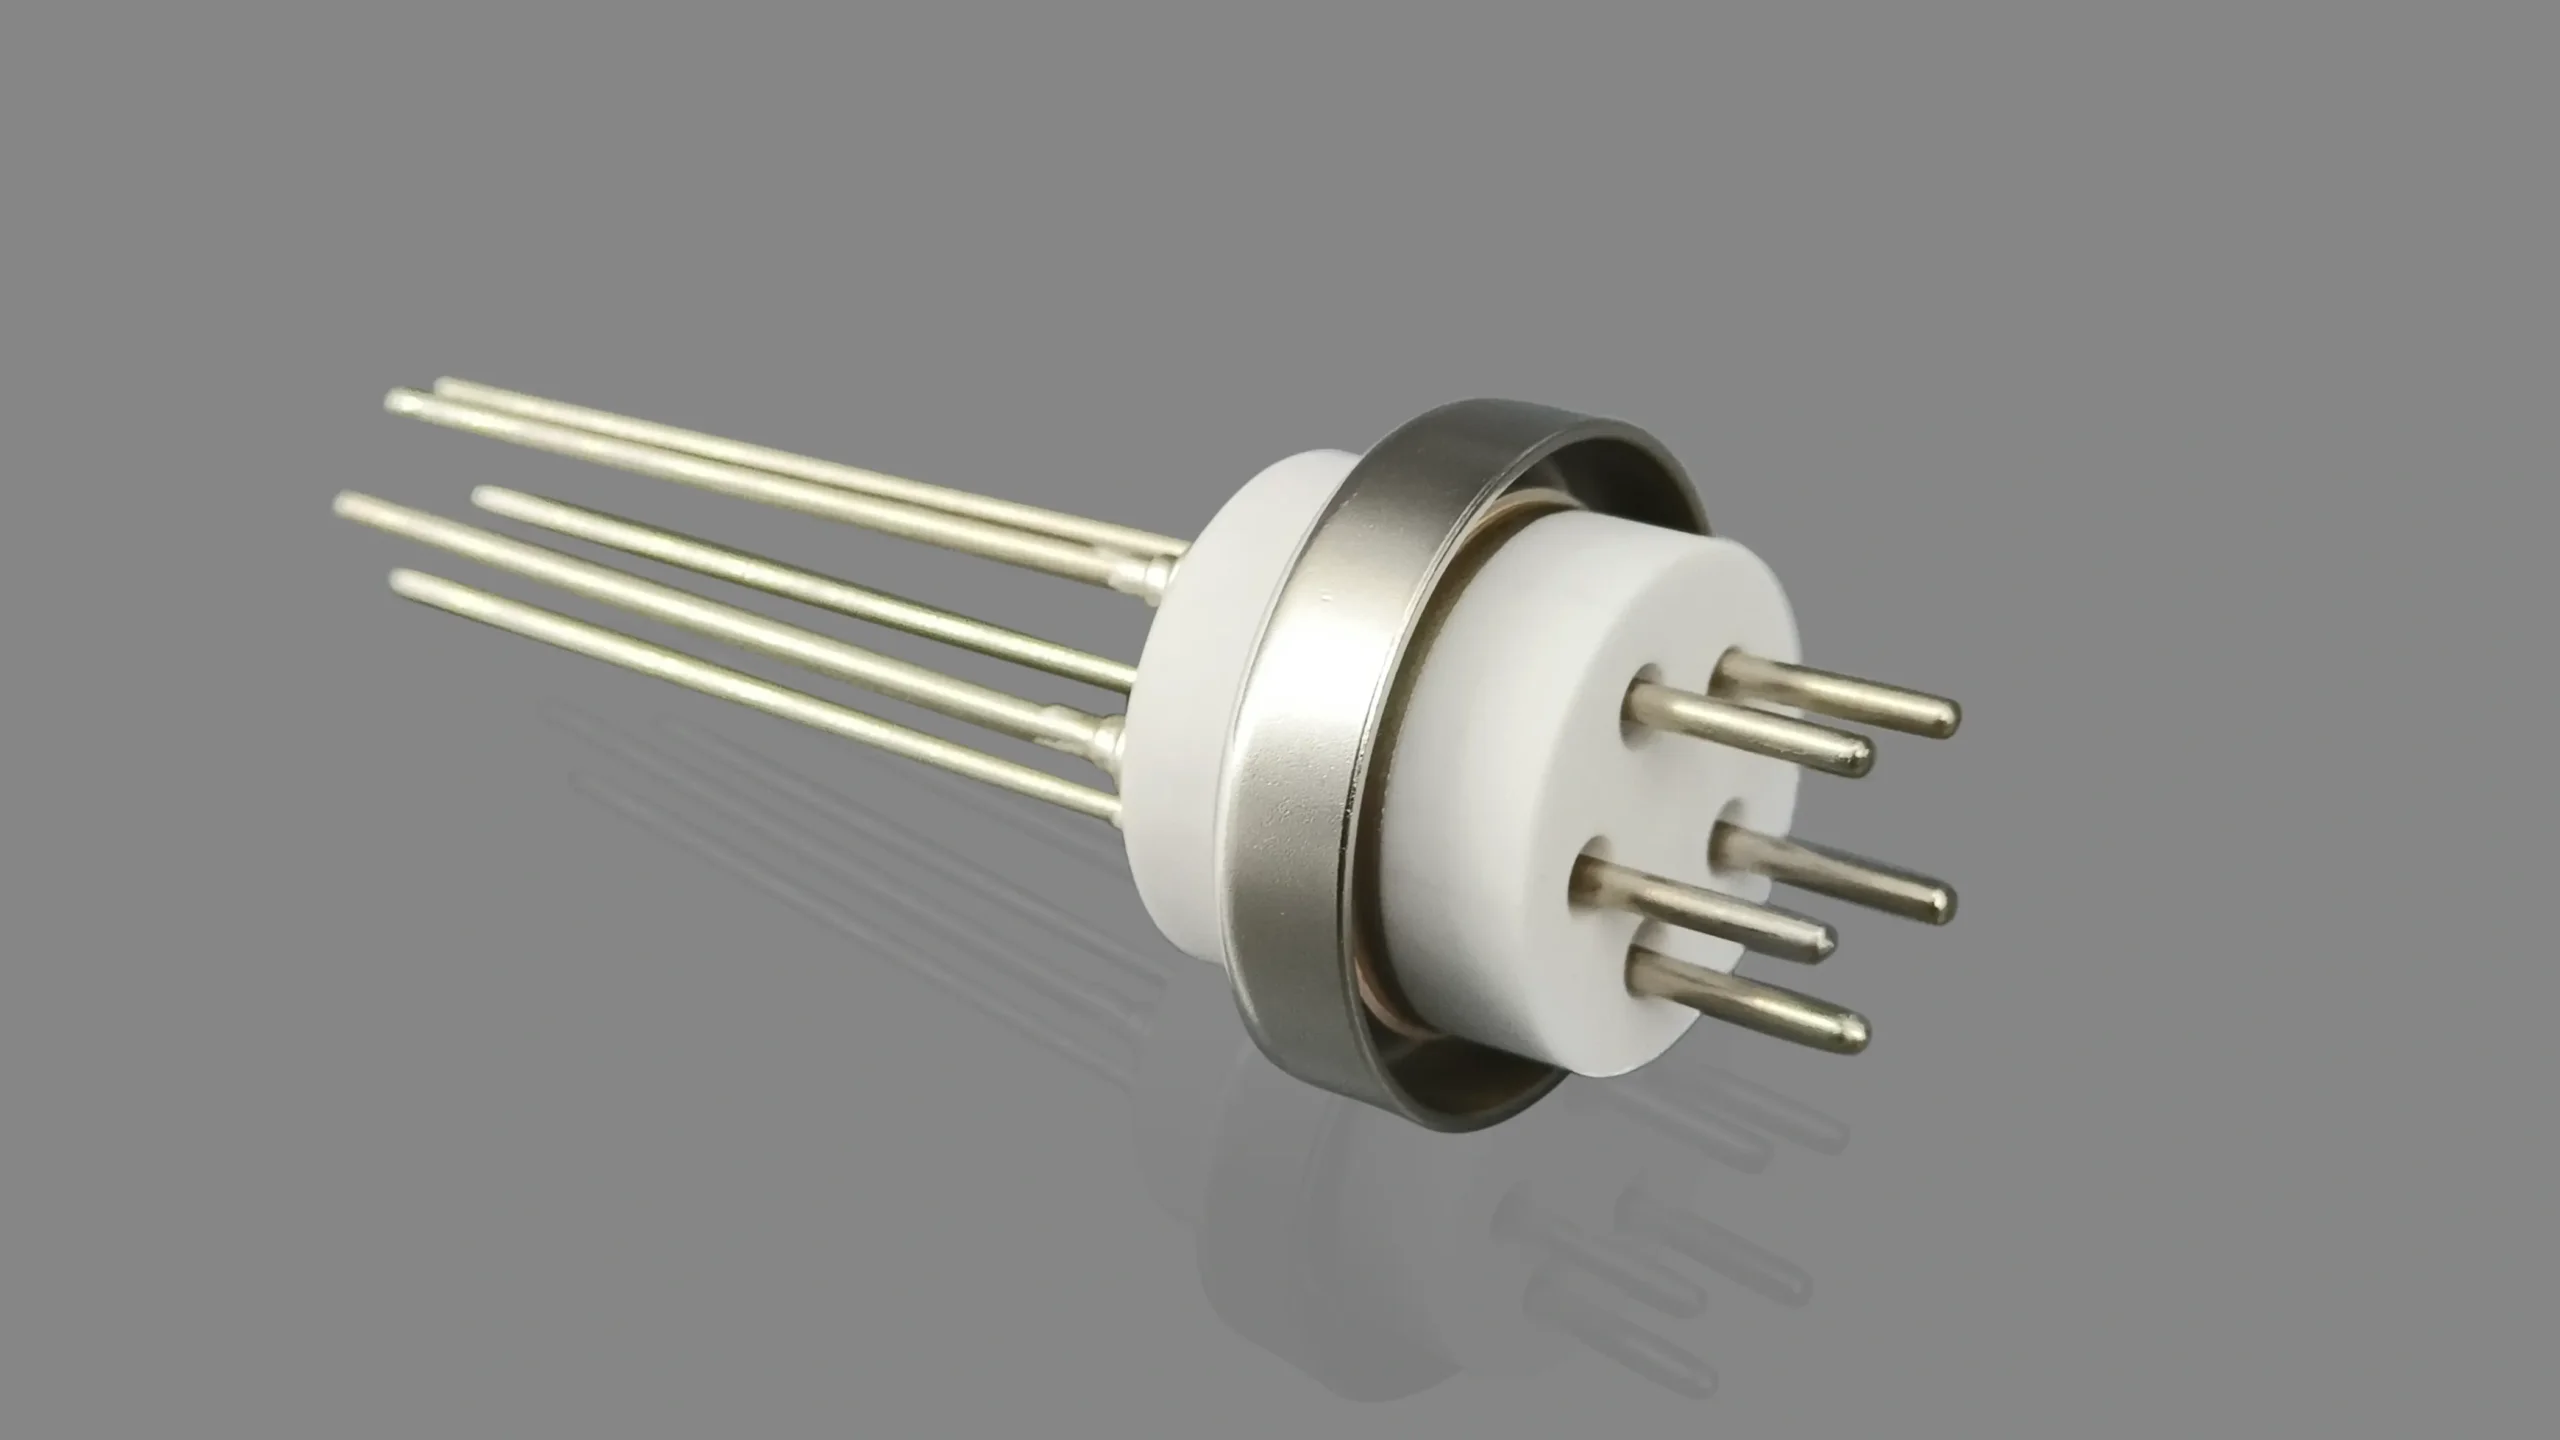
2. Metallization (If Needed): Bridging the Wettability Gap
Many technical ceramics, particularly non-oxide ceramics like silicon nitride (Si3N4) and silicon carbide (SiC), exhibit poor wettability by typical brazing alloys. To overcome this limitation, a metallization layer is applied to the ceramic surface.
Common metallization techniques include:
- Molybdenum-Manganese (Mo-Mn) Process: A paste composed of Mo and Mn powders is applied to the ceramic surface and then fired at high temperatures. This process forms a metallic layer that provides a suitable surface for brazing.
- Titanium Hydride Method: A thin film of titanium hydride (TiH2) is applied. During brazing, the titanium reacts with the ceramic, creating a strong chemical bond.
- Thin Film Sputtering: This involves depositing thin layers of metals like titanium, chromium, or nickel onto the ceramic surface using sputtering techniques.
The selection of the appropriate metallization technique depends on factors such as the type of ceramic, the brazing temperature, and the required joint properties. It is crucial to carefully control the metallization layer thickness and firing temperature to prevent cracking and ensure optimal adhesion.

3. Brazing Filler Application2: Precision and Compatibility are Key
Choosing the right brazing filler alloy is critical for achieving a strong, reliable joint. Consider the following factors:
- Melting Temperature: The filler's melting temperature should be lower than the melting points of both the metal and ceramic components.
- Wetting Behavior: The filler must effectively wet both the metal and ceramic surfaces.
- Corrosion Resistance: The filler must withstand the intended operating environment without corroding.
- Mechanical Properties: The filler must provide adequate strength and ductility to the joint.
Apply the filler in a uniform and controlled manner using methods like paste application, foil placement, or wire feeding. Minimizing the amount of filler used reduces residual stresses and enhances joint integrity. Precision is paramount. Pre-forms can be used to ensure repeatable assembly of the joint.
4. Assembly & Fixturing3: Ensuring Alignment and Stability
Proper assembly and fixturing are essential for maintaining alignment and ensuring even filler flow throughout the brazing process. Fixtures should be made from materials that can withstand the brazing temperature and have minimal thermal expansion.
Common fixturing materials include graphite, alumina, and stainless steel. The fixture design should minimize stress concentrations in the joint. Light, uniform pressure should be applied to ensure contact between the parts and the brazing filler.
5. Brazing Process4: Precise Control for Optimal Results
The brazing process must be carefully controlled to prevent oxidation and ensure proper wetting. Perform brazing in a controlled atmosphere furnace, using vacuum, inert gas, or a reducing atmosphere.
By adhering to these detailed steps and heeding the advice provided, you can significantly increase your chances of achieving high-quality, reliable metal-to-ceramic brazed joints that meet the demands of advanced applications.
Understanding surface preparation is crucial for achieving strong joints in brazing, ensuring optimal adhesion and performance. ↩
Learn about the critical factors in filler application to ensure strong, reliable joints in metal-to-ceramic brazing. ↩
Discover how proper assembly and fixturing can prevent misalignment and enhance joint integrity during brazing. ↩
Understanding the brazing process is essential for achieving optimal results and preventing common issues during brazing. ↩